
Walk in · central vacuum
Central Vacuum Repair – All Brands
Authorized VacuFlo Warranty Center
Portland | Beaverton | Vancouver | Bend | Montavilla
- Carry-in
- Free estimate
- Open 7 days
- 90-day repair warranty
Since 1932
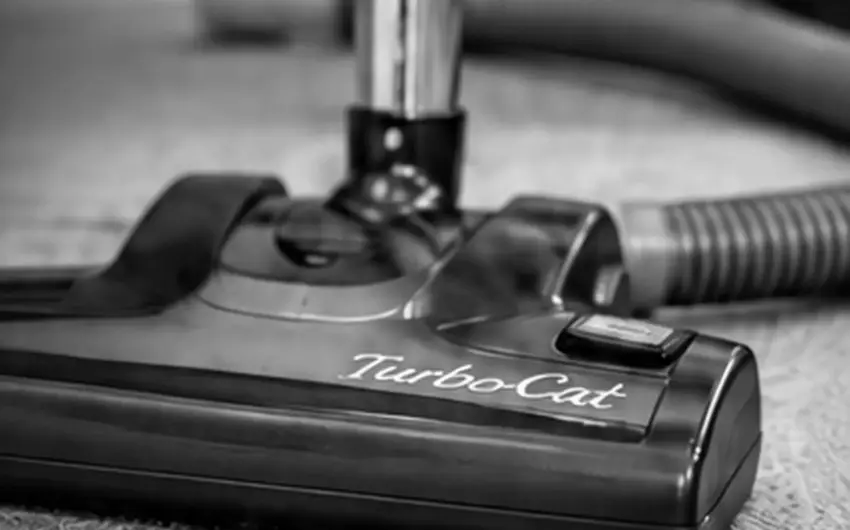
VacuFlo + TurboCat Repair
Walk In – Portland, Montavilla,
Beaverton, Vancouver and Bend
Open 7 Days
5 stores, no appointment
Free Estimate While You Wait
You OK it first.
90-Day Warranty
Same problem? Free.
Authorized
VacuFlo · Beam · CycloVac
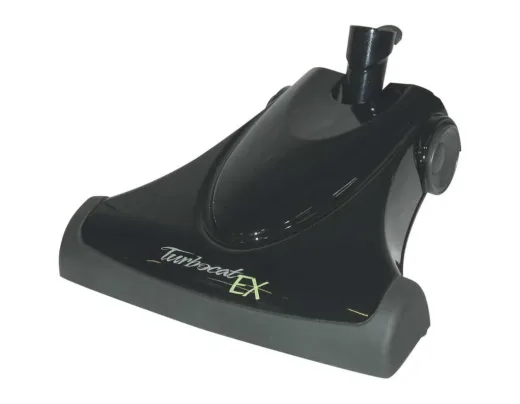
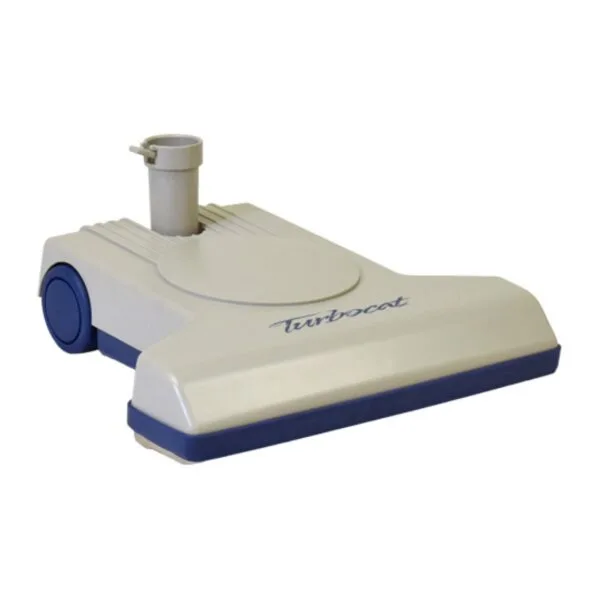
TurboCat repair
$20 + Parts
TurboCats
VacuFlo list price or less
Power units
in store from $619
Electric heads and power units: free estimate. Parts extra.
Installs or house calls? Ask an install company or a house-call service. We repair what you carry in.
Central vac help: who to ask
| You need | Who to ask | Why |
|---|---|---|
| A new system installed | An install company | They install. We don’t. |
| Repair at your home | A house-call service | They make house calls. |
| Carry-in repair | Stark’s, 5 stores | Walk in, no appointment, 7 days |
| TurboCat repair + parts | Stark’s | $20 + parts, 90-day warranty |
| TurboCat, hoses, bags | Stark’s | VacuFlo list price. Common parts in stock |
| Help in Bend or Vancouver | Stark’s | Walk-in stores, no appointment |
“A good place for vacuums, central vacuum systems, repair, vacuum bags, accessories and general information.”
Linda H. · Google review
Central Vacuum Troubleshooting
Powerhead, Hose or Unit? Tap What It’s Doing.
Low Suction
LikelyA clog, a full canister or a dirty filter.
BringThe hose.
CostFree estimate while you wait
Hose Clogged
LikelySomething stuck in the hose.
BringThe hose.
CostFree estimate while you wait
Powerhead Won’t Spin
LikelyHair, the belt or the brush.
BringThe powerhead.
CostTurboCat repair $20 + parts · electric: free estimate
Loud Powerhead
LikelyThe belt or the bearings.
BringThe powerhead.
CostTurboCat repair $20 + parts · electric: free estimate
Burning Smell
LikelyThe belt or the motor.
BringThe powerhead. Stop using it.
CostFree estimate while you wait
Won’t Turn On
LikelyThe breaker, the reset button or the inlet signal.
BringThe power unit. Need help? Call us and we’ll walk you through it.
CostFree estimate while you wait
Won’t Shut Off
LikelyA relay or an inlet switch.
BringThe power unit. Need help? Call us and we’ll walk you through it.
CostFree estimate while you wait
Trips the Breaker
LikelyThe motor or a short.
BringThe power unit. Need help? Call us and we’ll walk you through it.
CostFree estimate while you wait
Not sure? We’ll test it at the counter.
VacuFlo, CycloVac and Beam
VacuFlo
Warranty center. Model guide, TurboCats, power units. VacuFlo hub →
CycloVac
Authorized dealer for units, bags, filters and heads. CycloVac hub →
Beam
Carry-in repair, plus bags that fit your model. Beam hub →
VacuFlo Parts, Bags and Filters
Plus CycloVac Units and Beam Bags.
Order Online or Drop In at Any of Our 5 Stores.
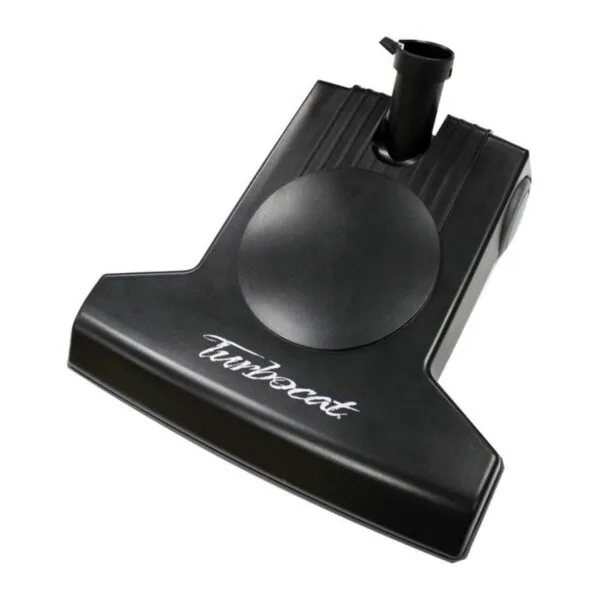
Why it’s our #1
- No electric hose neededAir flow spins the brush
- Fits standard wandsAny central vac, 1-1/4 in wand
- We service it tooTurboCat repair, $20 + parts
- path
- 13in
- tall
- 2.7in
- warranty
- 3yr
$189
Add to cartVacuFlo TurboCat Air-Driven Powerhead (Black)
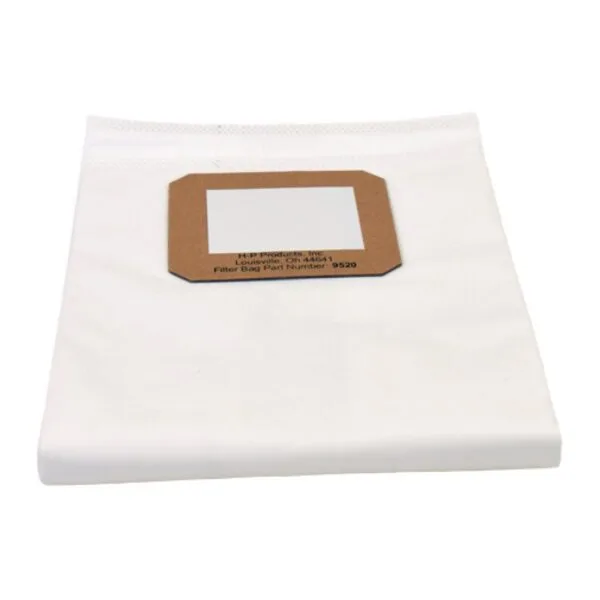
VacuFlo CleanShield Bags 9520 (3 pack)
$25.66
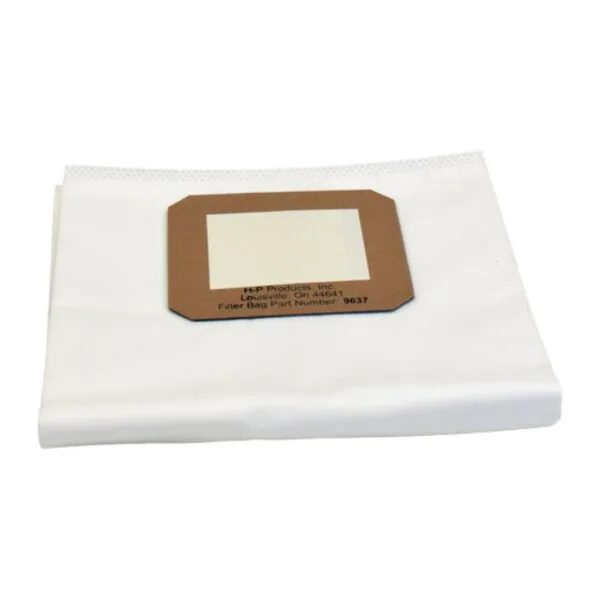
Also at all 5 stores →VacuFlo CleanShield Bags 9637 (3 pack)
$24.04
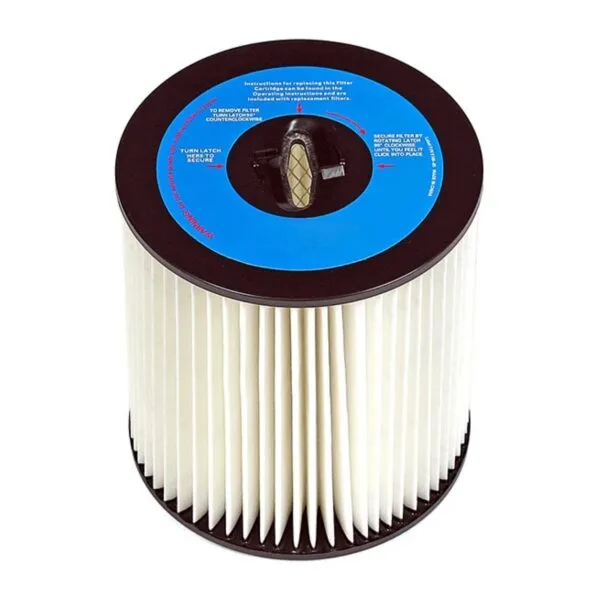
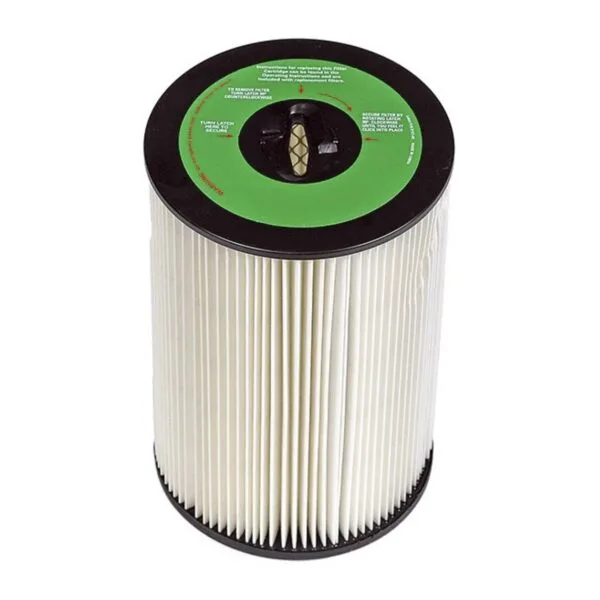
Also at all 5 stores →VacuFlo 7" Cartridge Filter 8106-01
VacuFlo 10" Cartridge Filter 8107-01
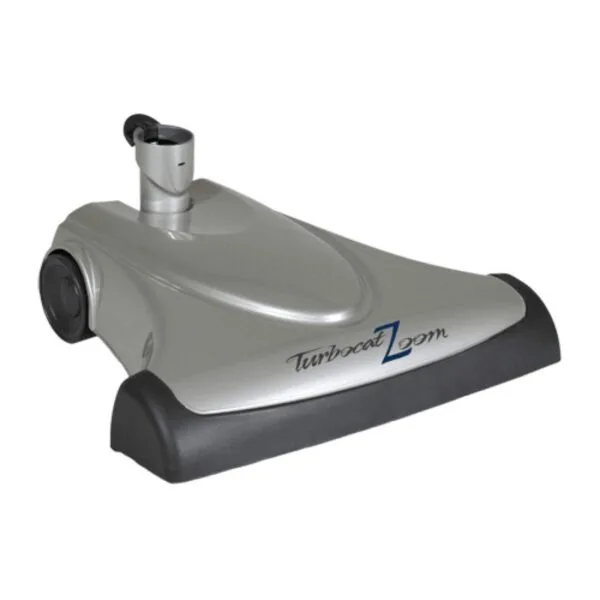
VacuFlo TurboCat Zoom Powerhead
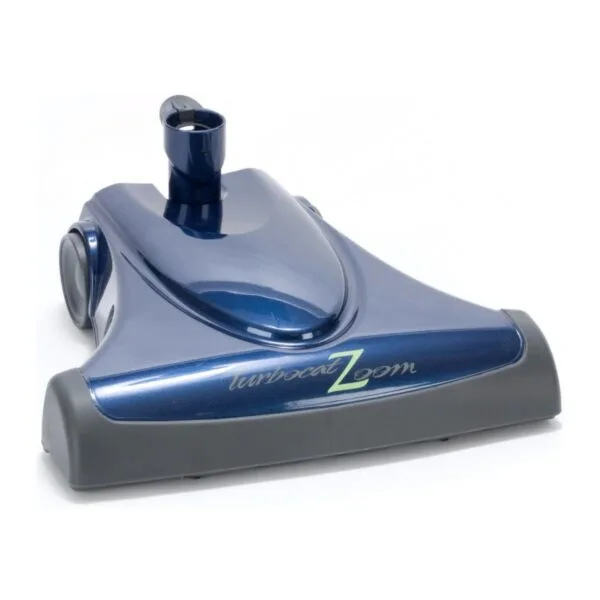
VacuFlo TurboCat Zoom Powerhead (Sapphire)
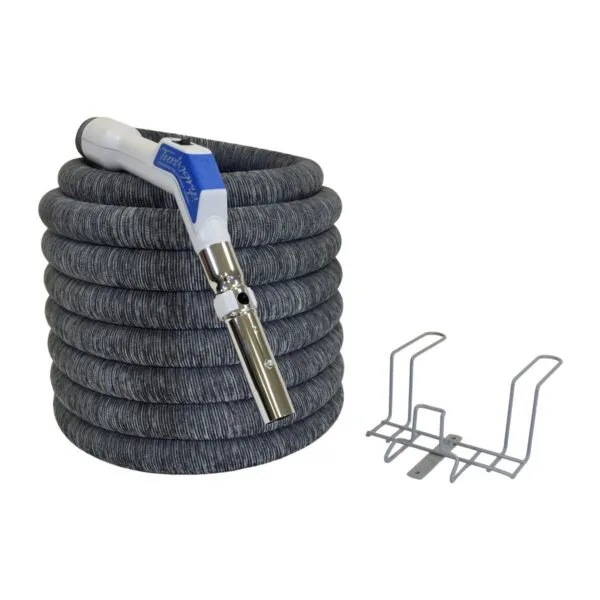
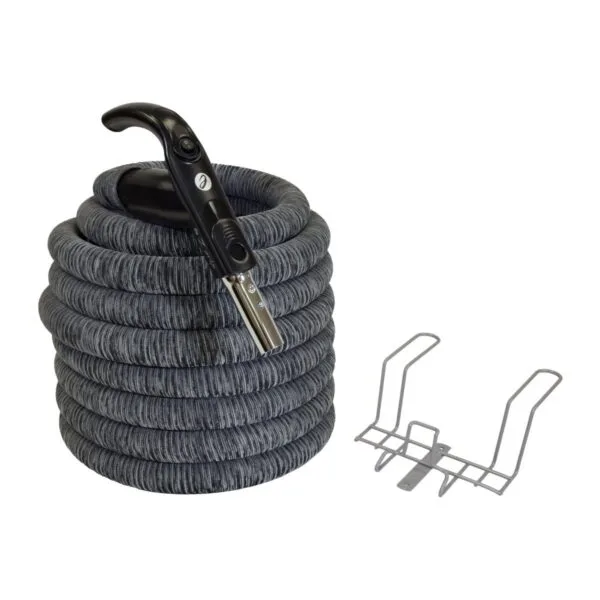
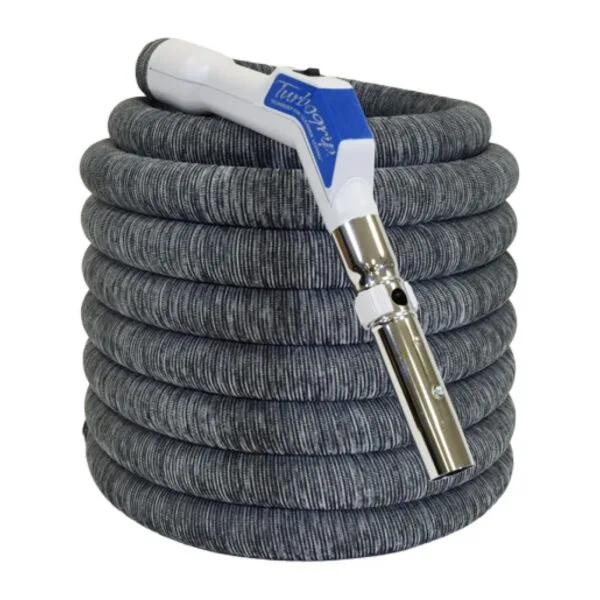
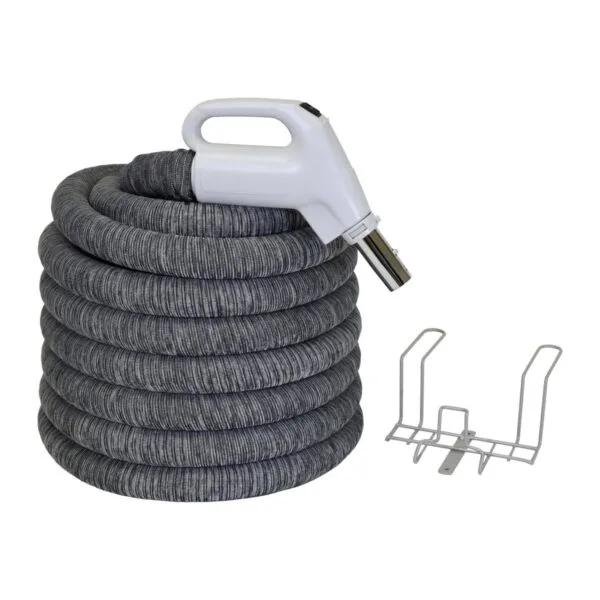
VacuFlo 30 ft TurboGrip Hose + Sock
VacuFlo 30 ft e-Z Grip Hose + Sock
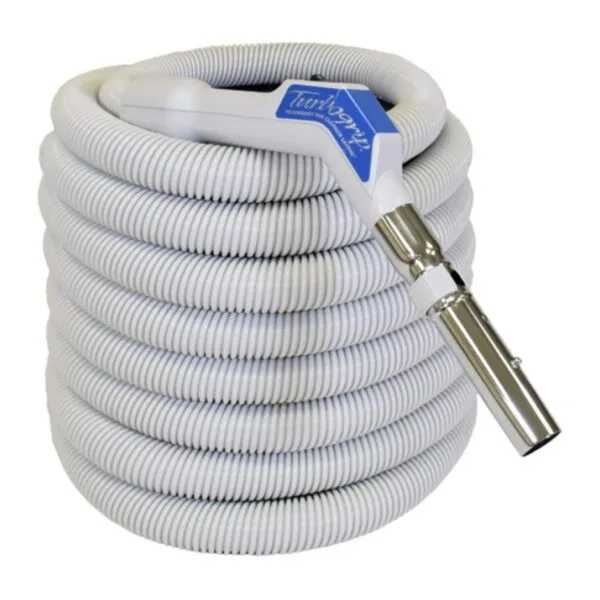
VacuFlo 30 ft TurboGrip Hose 7352-30
VacuFlo 30 ft Universal TurboGrip Hose + Sock
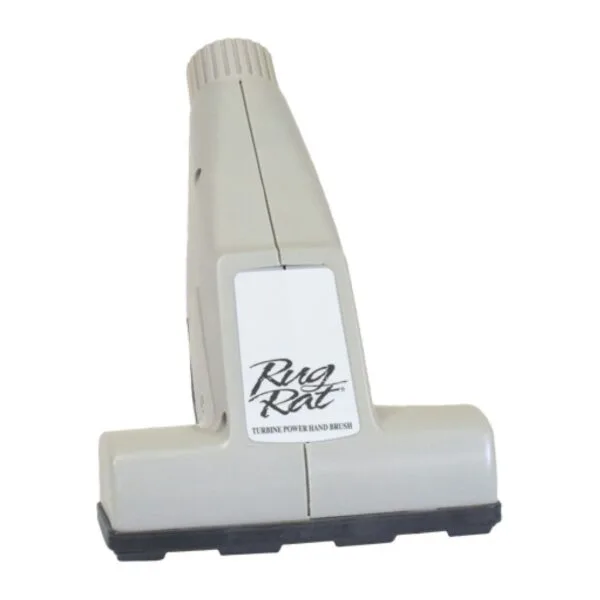
VacuFlo RugRat Turbine Hand Brush
VacuFlo 30 ft Gas-Pump Electric Hose + Sock
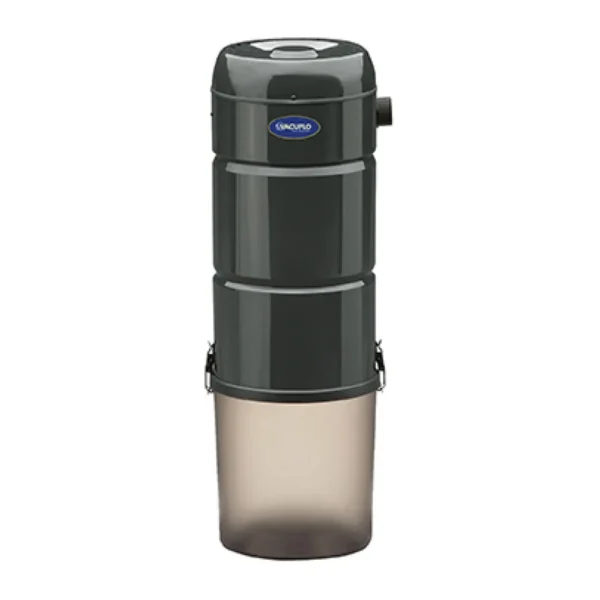
VacuFlo 466Q True Cyclonic Power Unit
$1,049
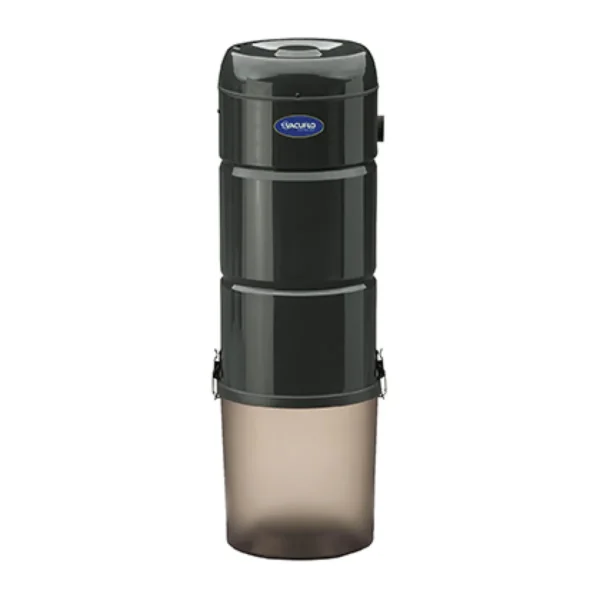
VacuFlo 566Q True Cyclonic Power Unit
$1,175
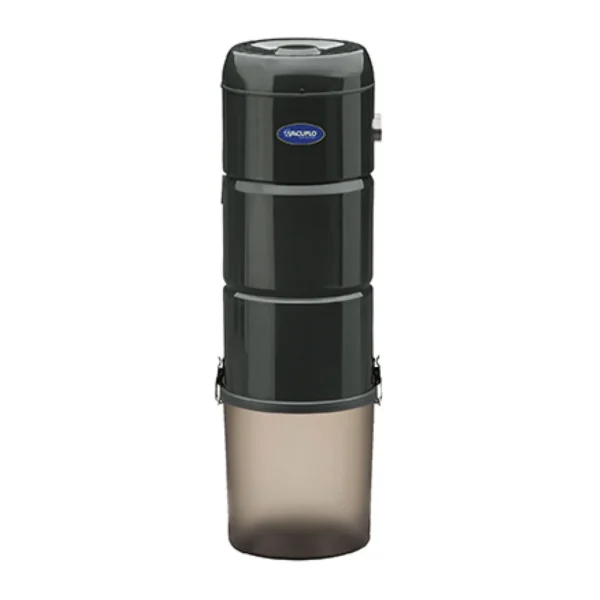
VacuFlo 760 True Cyclonic Power Unit
$1,549
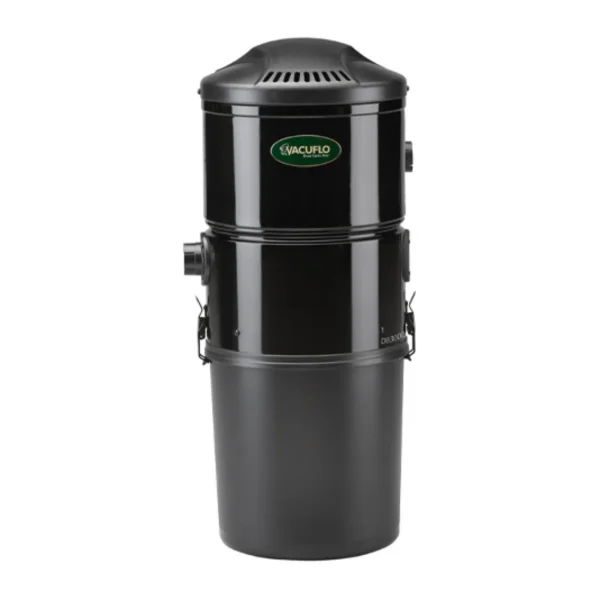
VacuFlo DB3000 Bagged Power Unit
$949
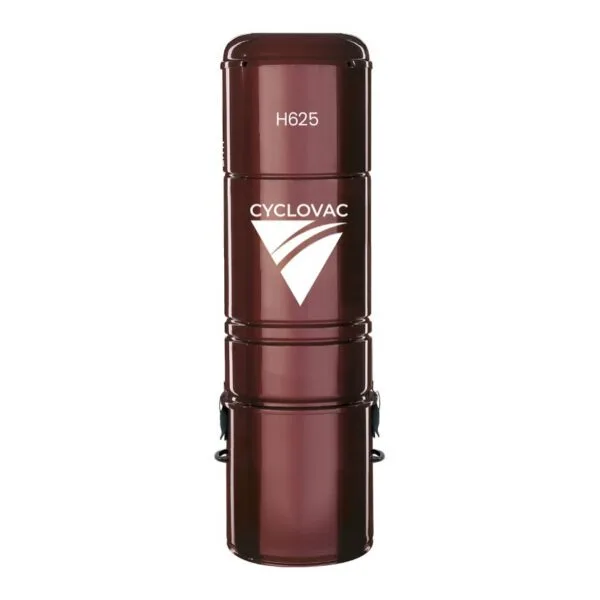
CycloVac Central Vacuum H625
$984
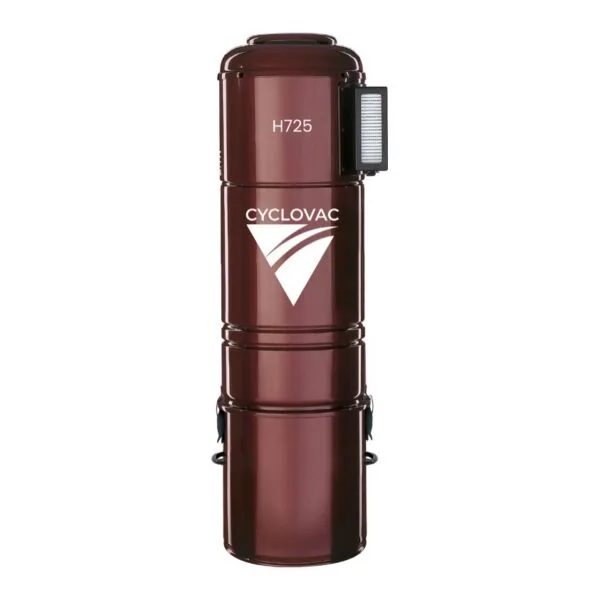
CycloVac Central Vacuum H725
$1,096
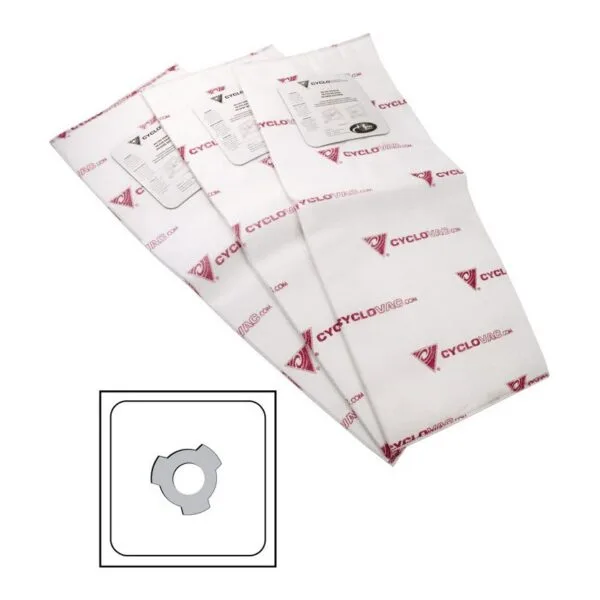
CycloVac Central Vac Bags, 5.3 gal (3 Pack)
$36
CycloVac Zoom Air-Driven Powerhead
$354
CycloVac Attachment Kit, 30 ft Hose
$231
CycloVac Bags + Carbon Filter (3 Pack)
$49
Beam Central Vac Bags, 5.3 gal (3 Pack)
$30
Beam Central Vac Bags, 6.9 gal (3 Pack)
$30
Beam Central Vac Bags, Dual Inlet (3 Pack)
$33
- See all central vac parts →VacuFlo, CycloVac and Beam bags, filters, hoses and heads
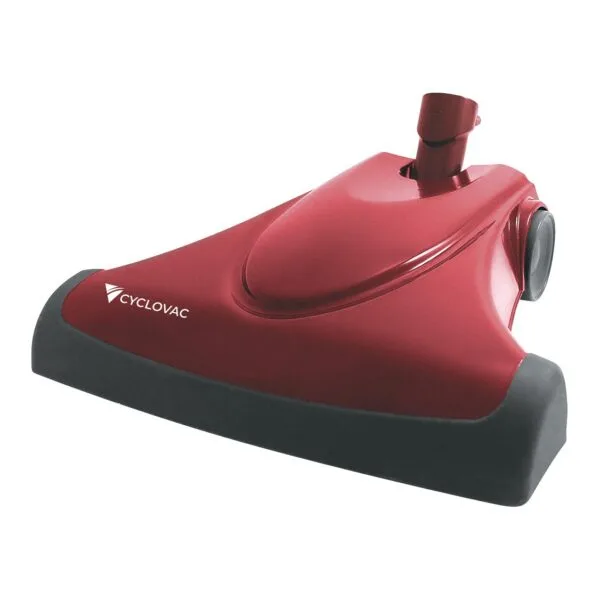
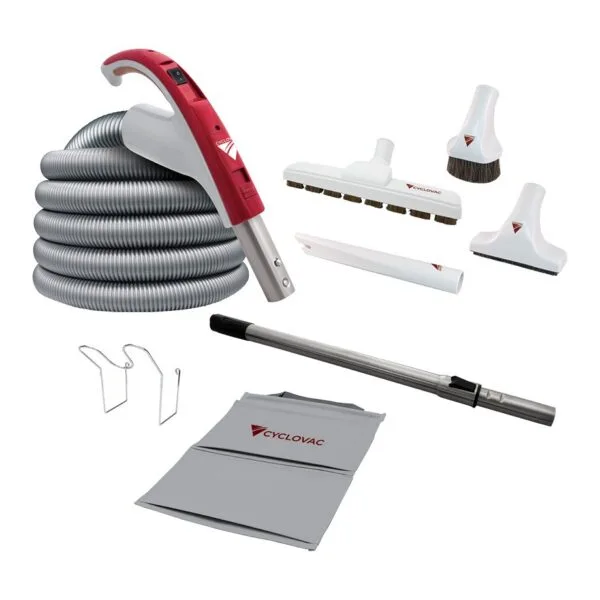
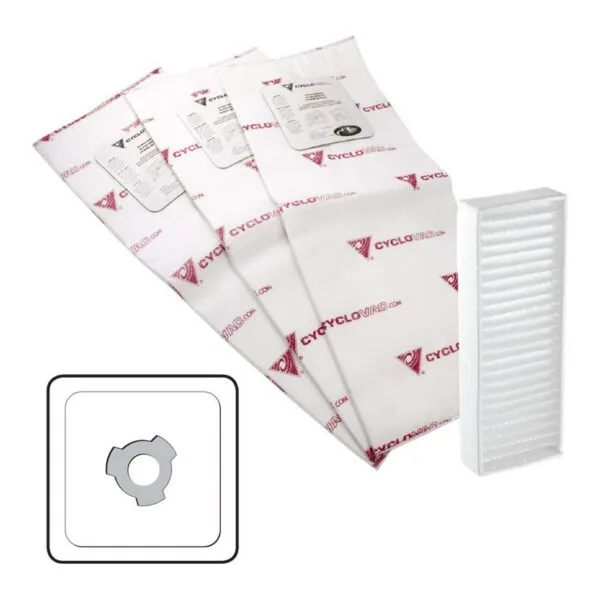



We sell it – we don’t install it. Shop all central vac parts →
DIY Central Vacuum Installation Guide
We Don’t Install or Make House Calls –
But We’ll Gladly Help You Do It Yourself.
The thin low-voltage wires are safe to touch.
Never open the 120V side of the unit.
| What it’s doing | Simple test | What it means |
|---|---|---|
| Won’t start at any inlet | Check the breaker and the unit’s reset button. Then touch a coin across the two low-voltage terminals on the unit. | Starts? A wire or inlet problem. Still dead? The power unit – bring it in. |
| Won’t start at one inlet | Unit off: pull that inlet and clean its contacts. Unit on: touch its two thin low-voltage wires together (never a 120V inlet – breaker off). | Starts? Replace the inlet. Nothing? A broken wire behind the wall. |
| Runs and won’t stop | Unhook the two low-voltage wires at the unit. | Stops? A short in the house wire (check any new nails or screws). Still runs? The unit’s relay. |
| Weak at every inlet | Empty the can or bag and check the filter. Then feel the pull at the inlet nearest the unit, no hose. | Strong there? A clog in the hose or pipe. Weak there? Filter, motor or a leak. |
| Weak at one inlet | Try the same hose at another inlet. | Fine elsewhere? A clog behind that inlet, usually at the tight elbow. |
| Whistles or hisses | Run it with every inlet door shut and walk the house. | A worn door seal, a loose inlet or a loose joint. |
| Brush won’t spin | Cut hair and string off the brush. Check the belt. | Still stuck? Bring the head. TurboCat repair $20 + parts. |
Bring it to the counter
Still stuck? Carry in the head, hose or power unit.
We test it and give you a free estimate while you wait.
Most of the job is pipe, glue and two thin wires. If your basement, attic or crawl space is open, you can do it yourself.
Stop and get help if:
- You need a new outlet or circuit – we advise a licensed electrician.
- Pipe has to go through the garage wall or another fire-rated wall – ask your building department first.
- Floor trusses or I-joists are in the way – never cut them.
- Your home is older – test paint and drywall mud for lead and asbestos before you cut.
Want it done for you? Choose an install company for installs.
Doing it yourself? We’ll help at the counter.
- Pick the power unit spot: garage, basement or utility room – never the attic. An outside wall keeps the exhaust short. Grounded outlet within about 3 ft.
- Find inlet spots with a string the length of your hose tied to a 3 ft stick. Can you reach every corner?
- Plan about one inlet per 600–800 sq ft with a 30 ft hose.
- Hallways and the top or bottom of stairs reach the most rooms. Set inlets at outlet height.
- Pick a unit rated at or above your home’s square feet. Size up for long runs or many inlets.
Parts we can help you find
- Power unit (VacuFlo in store only; CycloVac)
- Inlets
- Hose and tools
At the counter
Bring your square feet and inlet count. We’ll match a VacuFlo or CycloVac unit.
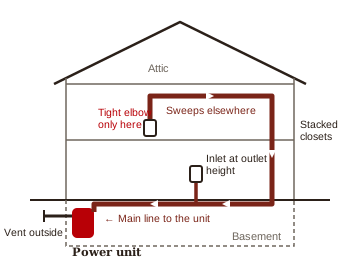
- Run one main line from the farthest inlet to the power unit.
- Join branch lines from the side or top of the main line – never from below, where dirt settles.
- Use sweep elbows and 45s. A tight elbow only right behind the inlet.
- Point every tee toward the power unit, with the airflow.
- Glue the pipe, not the fitting. Push in with a quarter turn.
- Lifting dirt more than one floor? Run the pipe level first – your unit’s manual gives the distance.
- Strap the pipe, and tie the low-voltage wire along it every 4 ft.

Parts we can help you find
- 2 in central vac pipe
- Sweeps and 45s
- Tees
- Cement and straps
- Low-voltage wire
Tools
- Drill (right-angle helps), hole saw
- Stud finder, fish tape
- String, 3 ft stick, mask, glasses
At the counter
Bring a photo of your floor plan. We’ll help you count fittings.
Add an Inlet
- Check the wall for wires and pipes first. Cut the hole with your inlet’s template, between studs.
- New walls: mount the inlet’s rough-in plate before the drywall goes up.
- 2×4 wall? A hole for 2 in pipe is too big for most studs. Ask your building department before you drill.
- Use the tight elbow right behind the inlet, sweeps everywhere else.
- Wire it: one low-voltage wire under each screw. Either wire on either screw. Snug only.
- Adding to a finished system? Find the nearest pipe in the basement, crawl space or attic. The low-voltage wire usually runs along it.
- Splice the wires color to color onto the nearest pair, so every inlet still starts the unit.
- Test before you patch the wall: the new inlet and all the old ones start the unit, and no joint hisses.
Replace an Inlet
- Power off. Unplug the power unit. Electric (120V) inlet? Also shut off its breaker and test it’s dead.
- Score the paint around the cover with a knife so the wall doesn’t peel.
- Take out the two screws and ease the inlet straight out with a slight twist. The plate behind the wall stays.
- Photo the two thin wires, then loosen the screws just enough to slip them off.
- Wire the new inlet: one wire under each screw. Either wire on either screw. Snug only – covers crack.
- Push it in flat with its new gasket and put the screws back.
- Test: hose in, the unit starts. Hose out, it stops. No whistle with the door shut.
Parts we can help you find
- Inlets
- Rough-in plates
- Gaskets
Tools
- Screwdrivers, utility knife
- Stud finder, drywall saw
- Drill with a long bit
- Fish tape or a weighted string
- Voltage tester (120V inlets)
Safety and code
- Low-voltage inlet wires are safe to touch with the unit off.
- Electric inlets carry house power. New or changed 120V wiring = a licensed electrician.
At the counter
Replacing one? Bring the old inlet and a photo of the wall plate. We’ll match it.
- Cut the pipe square with a tubing cutter or fine saw. Clean the burr off the inside.
- Dry-fit each run before you glue.
- Cement on the pipe end only, push in, quarter turn, hold a few seconds.
- The cement is flammable. Open a window, no flames, and let joints cure at least 3 hours before testing – longer if the can says so.
- Run two-wire low-voltage wire beside the pipe to every inlet. Tie it every 4 ft. Keep it away from house power wires.
Parts we can help you find
- Pipe cement
- Low-voltage wire
- Wire ties
Tools
- Tubing cutter or fine saw
- Knife to deburr cut ends
- Wire stripper
Pipes Already in? It’s Mostly a Swap.
Dead unit? It may only need a repair – worn motor brushes or a bad relay. Carry it in first. Spot and size: see part 2.
Steps
- Check the power. Read the rating plate. Most units plug into 120V; some need 240V or a twist-lock plug. Many need their own circuit. Never change the plug or use an adapter.
- Take the old one out. Unplug it and photo every wire and pipe. Slide off the two thin low-voltage wires, loosen the couplings and lift it off its bracket. Glued on? Cut the pipe square, close to the unit.
- Hang the bracket. Screw it into a stud (anchors on concrete), level, at the height your manual gives, so the canister lifts off easily.
- Connect the intake. Glue on the pipe, never inside the fitting. Push in, quarter turn. Don’t glue the last joint into the unit: use the rubber coupling and clamps so it can come off for service.
- Wire it. Strip about 1/2 in of the two low-voltage wires and clip them on. On most units either wire fits either terminal.
- Vent the exhaust. Many cyclonic units must vent outside – your manual says. Never into a wall, ceiling or crawl space. Keep it short and straight; your manual sets the limit. Mount the muffler upright.
- Then test it (part 7) before you close anything up.
Parts we can help you find
- Power unit and wall bracket
- Rubber coupling and 2 clamps
- Muffler and exhaust cap
- Bags or filter for the unit
Tools
- Drill, stud finder, level
- Screwdrivers
- A helper (units are heavy)
Safety and code
- Unplug it or shut off the breaker first.
- Some warranties depend on where you buy and how it’s installed. Ask us before you buy.
From the counter
Pipe won’t line up with the new unit? A short piece of pipe, two 45s and a flexible connector bridge the gap. Bring photos and we’ll pick the parts.
At the counter
Bring the model sticker and photos of the old unit, pipes and plug.
- Sealed test: every inlet shut, run it a few seconds. Almost no air out the exhaust.
- Listen: walk the house. A hiss = a loose joint or inlet door.
- Every inlet: hose in, it starts. Hose out, it stops.
- Weak at the farthest inlet? Look for a leak or a tight turn before you close the wall.
Carry it in
Won’t start? Carry in the unit, hose or head. Free estimate while you wait. TurboCat repair $20 + parts.
- Oregon: homeowners may do some electrical work on their own home, with a permit.
- Washington: owners may do electrical work on their own property with an L&I permit – not on homes built to rent or sell.
- Our advice either way: a new circuit, 240V or twist-lock outlet = a licensed electrician.
- Fire-rated walls (like house-to-garage): metal pipe and a fire collar are usually required. Ask your building department.
- Floor joists: keep holes to one-third of the joist depth and 2 in from the edges. Never cut trusses or I-joists.
- Never open the 120V side of the power unit.
- Your unit’s manual and local code come first.
Last checked: October 2026.
Can a Central Vacuum Go in an Existing Home?
Yes. Most runs go through closets, a basement, crawl space or attic.
How Many Inlets Do I Need?
About one per 600–800 sq ft with a 30 ft hose.
Can I Use Plumbing Pipe?
No. Use 2 in central vac pipe and sweep fittings – plumbing turns are too tight and catch dirt.
Do I Need a Permit?
Often for new electrical work. See Permits, safety and code.
Who Installs Central Vacuums?
We don’t. Choose an install company for installs.
| Step | Parts we can help you find | Bring to the counter |
|---|---|---|
| Plan | Power unit, inlets, hose kit | Square feet, inlet count |
| Rough-in | Pipe, sweeps, 45s, tees, straps | Floor plan photo |
| Inlets | Inlets, plates, gaskets | Old inlet and plate photo |
| Glue and wire | Cement, low-voltage wire, ties | – |
| Power unit | Unit, coupling, muffler, exhaust cap | Model sticker, photos |
Questions mid-project? Ask at any store. Find your store →
Real Reviews from Real Customers
★★★★★
“The staff is so helpful. They’ve fixed my Beam 650TBN to my upright Dyson in very reasonable time and a fair price.”
Julia K. · Customer review
★★★★★
“Let me just say that it is the best purchase for the home we made in a long time. The suction is amazing, no noise, no smells, the unit sits on the wall in the garage.”
Don N. · Yelp review
★★★★★
“A good place for vacuums, central vacuum systems, repair, vacuum bags, accessories and general information.”
Linda H. · Google review
★★★★★
“Just bought a central vacuum unit and accessories. Great salespeople and service.”
Fran A. · Yelp review
★★★★★
“Staff was very helpful! I had a broken powerhead for over a year and I took the chance to see if they could fix it. They gave me an estimate and it was very reasonable!”
Terry T. · Google review
★★★★★
“I took my vacuum into this location because it lost suction. The guy welcomed me as I walked in and proceeded to dive right in and fix my vacuum within a matter of minutes. He also replaced the belt. I was hoping my vacuum could be saved, but didn’t expect the speedy service.”
Jordan S. · Google review
Central Vacuum System Service and Repair Questions
At any of our 5 stores: Portland, Montavilla, Beaverton, Vancouver WA and Bend. We’re an authorized VacuFlo warranty center. Carry it in, no appointment. Find your store
Yes, an authorized VacuFlo warranty center. Bring the power unit, hose or head, with your receipt if you have it, and we’ll check your warranty with VacuFlo.
Check the model on the power unit’s label, then find your bag or filter in our VacuFlo model guide.
At all 5 Stark’s stores, or online. We stock common VacuFlo bags, filters, hoses and TurboCat heads and special order the rest. Shop parts
TurboCat powerhead repair is $20 + parts. Electric powerheads and power units get a free estimate while you wait, so you know the price before we start.
All brands of central and built-in vacuum systems, including the major brands: VacuFlo, Beam, CycloVac and NuTone. We repair power units, hoses and powerheads, and every repair has a 90-day warranty.
Yes. Won’t start at the inlet? It’s likely the hose switch or the power unit, so bring both and we’ll test them. We stock common VacuFlo hoses too.
Empty the can or change the bag, check the filter and cut hair off the powerhead brush. Hissing? Check the inlet door seals. 7 simple tests
No. We sell central vacuums and parts and repair them carry-in at all 5 stores, no appointment. Our DIY guides and counter staff can help you install it yourself. DIY guides
Many homeowners do. If the pipes are in, it’s mostly a swap: bracket, intake, two thin wires and the exhaust. Use a licensed electrician for any new circuit. See the steps
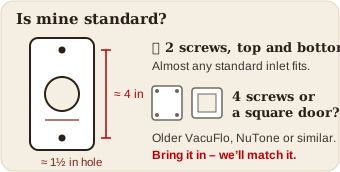
Most will. Standard inlets have two screws about 4 inches apart and a 1-1/2 inch opening. Older VacuFlo, NuTone and similar inlets may need a match. Bring the old one in, with a photo of the wall plate. Is mine standard?
The pipe, outside only. Glue brushed inside a fitting gets pushed into the airway and catches hair. Don’t glue the last joint into the power unit. Pipe guide
Often repair. In most homes the vacuum piping in the walls rarely wears out, so most fixes are the power unit, hose or head. Repair or replace? We’ll show you both.
At Stark’s Vacuums in Portland (NE Grand Ave), Montavilla, Beaverton, Vancouver WA and Bend. Walk in during store hours – no need to schedule. Find your store
Central Vacuum Repair: Quick Facts
Show the quick facts
| What | Carry-in central (whole-house, built-in) vacuum repair, all brands. |
|---|---|
| Bring | The powerhead, hose or power unit. |
| Prices | TurboCat repair $20 + parts. Others: free estimate while you wait. |
| VacuFlo | Authorized warranty center. Bags, filters, hoses, heads. |
| CycloVac | Authorized dealer: units, bags and parts. |
| Beam | Repairs, bags, filters and parts. |
| DIY | Free advice and parts. We don’t install or make house calls. |
| Warranty | 90-day warranty on all our repairs. |
| Where | Portland (NE Grand Ave), Montavilla, Beaverton, Vancouver WA, Bend. |
| Hours | Mon–Sat 9–5, Sun 10–5 (Bend Sun 12–5). |
| Since | 1932. Family-owned. |
| Updated | October 2026 |
Areas We Serve
Show the areas we serve
Vacuum Repair and Sales, Portland to Bend.
Portland (NE Grand) Portland · Lake Oswego · Milwaukie · Oak Grove · St. Helens
Montavilla Gresham · Oregon City · West Linn · Happy Valley · Clackamas
Beaverton Beaverton · Hillsboro · Tigard · Aloha · McMinnville
Vancouver, WA Vancouver · Camas · Battle Ground · Washougal · Ridgefield
Bend Bend · Redmond · Prineville · Sisters · La Pine